Python for Windows (Windows XP Pro)
In this short tutorial we are going to install and test Python on Windows XP Pro SP2. There are a few versions of Python available for download, for example:
-
ActiveState's ActivePython
-
The official release of Python
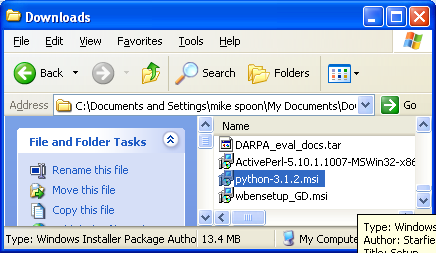
There is also Jython - python for Java (http://www.jython.org/) and IronPython - python for .NET (http://ironpython.net/), but both of these are for special platforms that are for Java and .NET, respectively. Another one is from Chilkat which provides python module. Example python codes can be found at: Chilkat Python Code Example. In this tutorial we are using Python from python.org. Please download the MSI, latest stable version from: python.org. Double click the MSI file.
Click the Run button.

Select the Windows user access. In this case we select Install for all users and click Next.

Select the destination directory. In this case we just accept the default. Click Next.

Select the features that you want to install. In this case we select all the available features. You can check the disk usage for installation by clicking the Disk Usage button. Click the Next button after viewing/setting the disk usage and advanced option.


The Advanced button provides an option to compile .py files into byte code after installation. In this case we de e-select this option.

The installation should starts.
|
|


Click Finish button to complete python installation.

The short cut menus are shown below. Let run the python command line tool. Select Python (command line) menu.

Type help() at the command prompt.

Well, our python on Windows XP Pro should be working. You can try many sample codes from python tutorial. The following script test the print() routine from command line.

Next, let test the same print() routine using the IDLE the python GUI. IDLE documentation can be found at: Python IDLE documentation.

The following screenshot show a sample python script run using IDLE.
